How to Transfer Files from Windows to Mac
Alon in how-to-guides
22.07.2024 | 3 min read

Table of contents
If you’ve decided to swap out your trusty Windows PC in favor of an Apple Mac, or are just a tech enthusiast who likes having both options, then you will likely find yourself needing to transfer files from one device to the other at some point. It’s a fairly common scenario, but since Windows and Apple devices exist within different ecosystems and use different terminology for their respective functions, things can get confusing pretty quickly. Fortunately, we’re here to help.
To make things simple, we’ve prepared a how-to guide to walk you through the process so you transfer your files from Windows to Mac with ease.
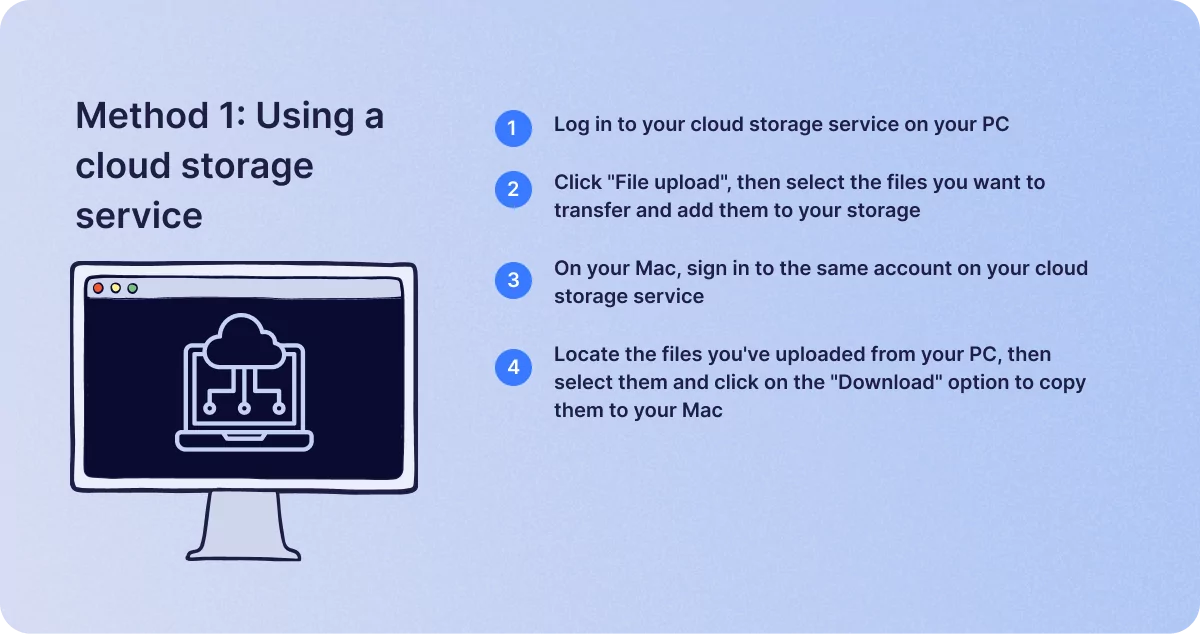
Method 1: Using a cloud storage service
Assuming you have a good Internet connection and have an account with a cloud storage service, like Google Drive or Dropbox, then this is the simplest way to transfer your files. To do this, you can follow these steps:
- Log in to your cloud storage service on your PC.
- Click “File upload”, then select the files you want to transfer and add them to your storage.
- On your Mac, sign in to the same account on your cloud storage service.
- Locate the files you’ve uploaded from your PC, then select them and click on the “Download” option to copy them to your Mac.
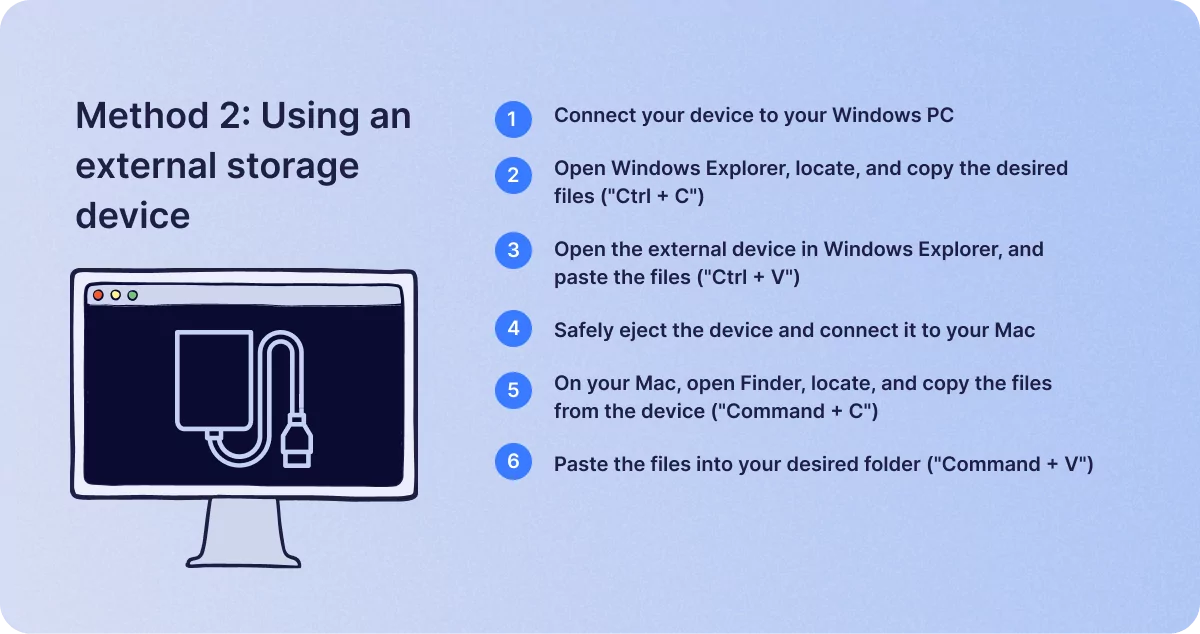
Method 2: Using an external storage device
If your Internet connection isn’t fast enough to use the cloud or you’d prefer to transfer your files locally out of concern for online security, then you can also use an external storage device to do this. This could be a USB flash drive, an external hard drive, or an SD card, as long as you have the required ports and slots on your device.
The steps are as follows:
- Connect your external device to your Windows PC via the relevant port or slot.
- Open Windows Explorer and navigate to the files you want to transfer.
- Highlight the relevant files, then press “Ctrl + C” to copy the files.
- Open Windows Explorer again, go to “This PC”, and open the external storage device from there.
- In the device window, right-click and press “Ctrl + V” to transfer the files to the device.
- Right-click on the storage device in the “This PC” window and click “Eject” to disconnect it safely. Then connect the device to your Mac.
- On your Mac, open Finder and locate the storage device under the “Devices” section.
- Open the external storage device window, highlight the files, and press “Command + C” to copy them.
- Go to your intended destination folder, then press “Command + V” to paste the files there.
Method 3: Using Apple’s Migration Assistant
Apple also provides a tool called Migration Assistant designed to help users transfer data from a Windows to a Mac. To transfer your files using this method, follow these steps:
- Ensure that both devices are on the same network.
- On your PC, download and install Migration Assistant from the Apple website.
- Run Migration Assistant from the Application folder on your Mac, then select “From a Windows PC” and click “Continue”.
- The App on your Mac will search for your PC on the network. When it appears, select the device and click “Continue.”
- Open the Migration Assistant on your Windows PC and follow the prompts provided.
- Choose the files you wish to transfer, then click “Continue” to initiate the transfer process.
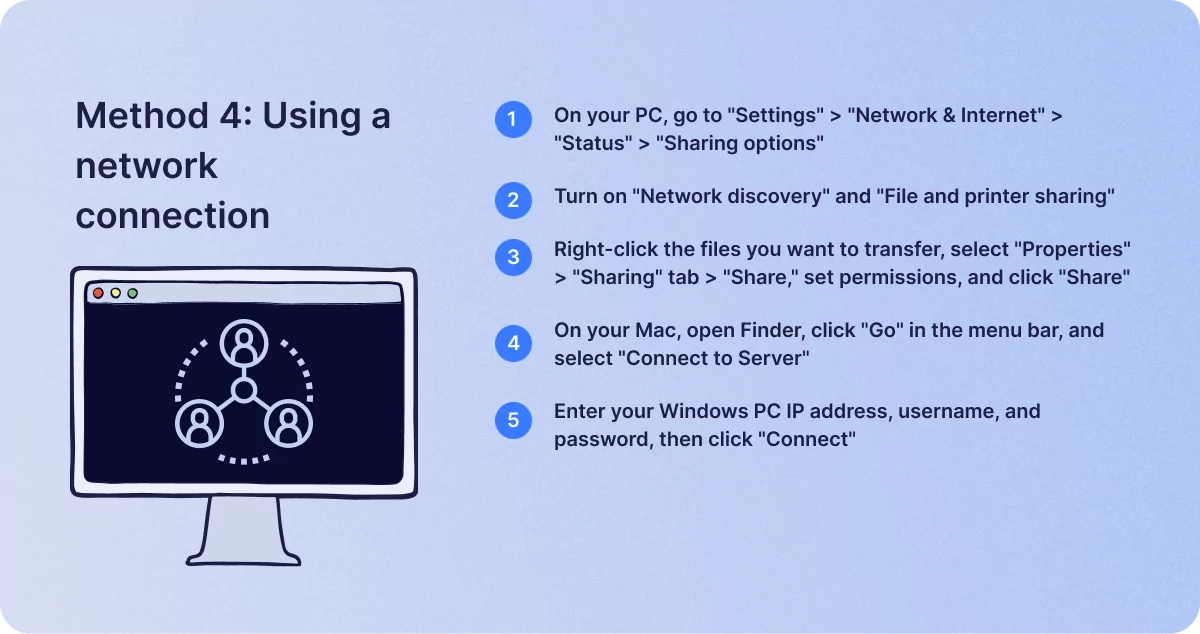
Method 4: Using a network connection
If your Windows PC and Mac are both on the same network, you can also transfer files directly that way. To do this, you can follow these steps:
- On your PC, go to “Settings”, then “Network & Internet” and “Status”. Click on “Sharing options.”
- Under “Network discovery,” click on “Turn on network discovery” and then select “Turn on file and printer sharing”.
- Navigate to the files you want to transfer, then highlight them, right-click, and select “Properties”.
- In the “Sharing” tab, click “Share”, then add your permissions and click “Share” again.
- On your Mac, open Finder, then click “Go” in the menu bar and select “Connect to Server”.
- Enter your Windows PC IP address, username, and password, and click “Connect”.
Wrapping up
Given the different interfaces on Windows and Mac devices, transferring files from one to the other can be a little challenging at first, but the process is actually pretty straightforward once you know how. By following the steps we’ve provided here, you can transfer your files to get up and running with your Mac in a matter of minutes.
Similar posts

How to change the location on your iPhone?
There are times when, for perfectly valid and legal reasons, you might want your iPhone to either appear to be located i…

How to change your steam password in 3 simple steps
Steam is a hugely popular gaming platform where you can buy and play everything from triple-A releases to crowdfunded in…